


 |
Equipment, required for the experiments
If you want to do some serious experimenting, then it is
wise to invest some money on equipment. No special (and expensive) equipment is
needed, but some basic things make life much easier and sometimes safer. The
equipment, mentioned here, can be obtained at a hardware store for a large part.
The glasswork can best be ordered at a science/hobby house.
Below follows a list of items, needed during several of
the experiments:
 Some flat plastic
spatula's with a width of 5 to 7 mm and a length of 7 to 10 cm. It is wise to
have many of them and when an experiment is done, then one should use a
different spatula for each chemical, involved in the experiment. This reduces
the risk of contamination of your precious chemicals and makes experimenting
more convenient, because you do not have to clean or wipe off the spatula after
each use. Some flat plastic
spatula's with a width of 5 to 7 mm and a length of 7 to 10 cm. It is wise to
have many of them and when an experiment is done, then one should use a
different spatula for each chemical, involved in the experiment. This reduces
the risk of contamination of your precious chemicals and makes experimenting
more convenient, because you do not have to clean or wipe off the spatula after
each use.
|
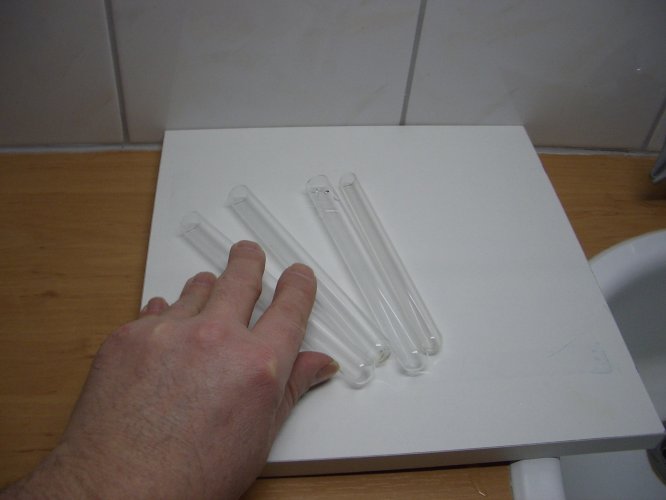 |
 Heat-resistant
test tubes, standard size is approximately 20 cm and diameter 15 - 20 mm. Heat-resistant
test tubes, standard size is approximately 20 cm and diameter 15 - 20 mm. |
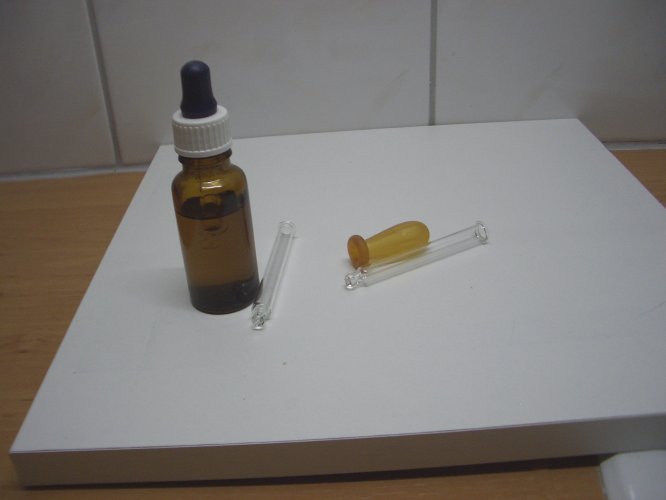 |
 Droppers, which
allow you to add single drops of liquid to a reaction mixture. Droppers, which
allow you to add single drops of liquid to a reaction mixture.
|
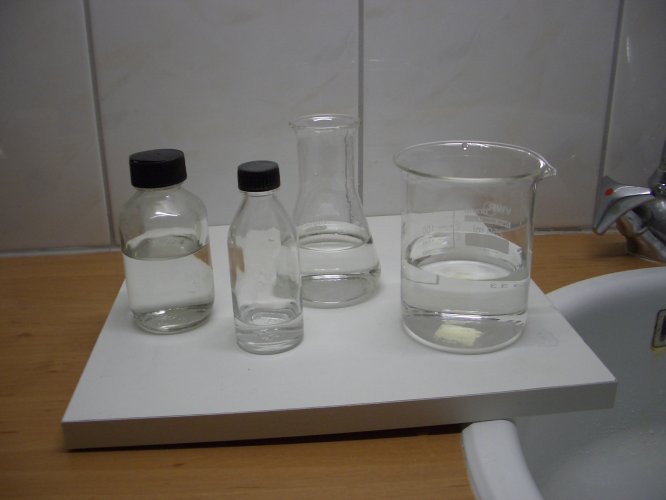 |
 Some beakers and
erlenmeyers. Preferably these also are heat resistant. For some gas experiments
it may be convenient to have some transparent glass bottles, which can be
tightly capped. Some beakers and
erlenmeyers. Preferably these also are heat resistant. For some gas experiments
it may be convenient to have some transparent glass bottles, which can be
tightly capped.
|
 |
 Clamps, which can
be used to hold a test tube, when it is heated. These clamps should be heat
resistant up to approximately 100 °C. Most hard plastic clamps, available in
hardware stores are perfectly suitable. It is better not to use metal clamps, as
these introduce the risk of breaking the test tube. Clamps, which can
be used to hold a test tube, when it is heated. These clamps should be heat
resistant up to approximately 100 °C. Most hard plastic clamps, available in
hardware stores are perfectly suitable. It is better not to use metal clamps, as
these introduce the risk of breaking the test tube. |
 |
 Some syringes and
a graduated glass cylinder, with a small volume, which allows volumes to be
measured at an accuracy of approximately 1 ml. At least one glass cylinder
should be present. Glass is corrosion resistant and virtually every liquid can
be measured with this. Some syringes and
a graduated glass cylinder, with a small volume, which allows volumes to be
measured at an accuracy of approximately 1 ml. At least one glass cylinder
should be present. Glass is corrosion resistant and virtually every liquid can
be measured with this. |
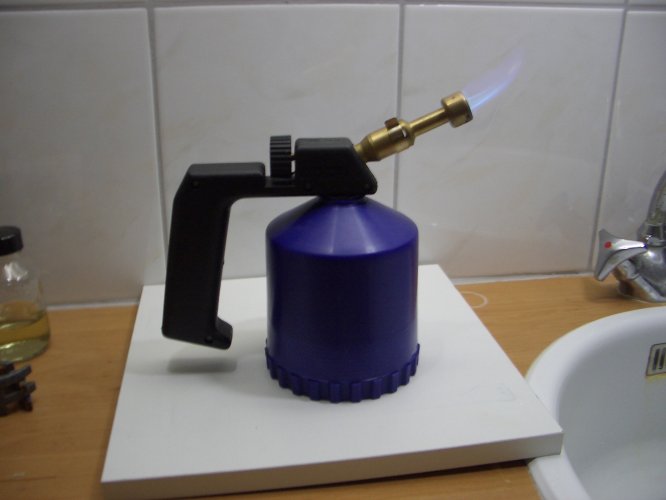 |
 A small
propane/butane torch, with a flame, which can be adjusted, such that it burns at
a low rate. The torch should not have a long tall cylinder of gas, but a low
bulky tank. This eliminates the risk of bumping the torch, while it is burning.
The setup, as shown in the picture, can be used to safely heat the contents of a
test tube. Keep in mind, when heating the contents of a test tube, always point
the open end of the test tube away from yourself and any other persons.
Sometimes, the contents may boil suddenly and the contents is swirled out of the
test tube. A small
propane/butane torch, with a flame, which can be adjusted, such that it burns at
a low rate. The torch should not have a long tall cylinder of gas, but a low
bulky tank. This eliminates the risk of bumping the torch, while it is burning.
The setup, as shown in the picture, can be used to safely heat the contents of a
test tube. Keep in mind, when heating the contents of a test tube, always point
the open end of the test tube away from yourself and any other persons.
Sometimes, the contents may boil suddenly and the contents is swirled out of the
test tube. |
|
back to top of page
back to main experiments page
|


![]() Some flat plastic
spatula's with a width of 5 to 7 mm and a length of 7 to 10 cm. It is wise to
have many of them and when an experiment is done, then one should use a
different spatula for each chemical, involved in the experiment. This reduces
the risk of contamination of your precious chemicals and makes experimenting
more convenient, because you do not have to clean or wipe off the spatula after
each use.
Some flat plastic
spatula's with a width of 5 to 7 mm and a length of 7 to 10 cm. It is wise to
have many of them and when an experiment is done, then one should use a
different spatula for each chemical, involved in the experiment. This reduces
the risk of contamination of your precious chemicals and makes experimenting
more convenient, because you do not have to clean or wipe off the spatula after
each use.

![]() Droppers, which
allow you to add single drops of liquid to a reaction mixture.
Droppers, which
allow you to add single drops of liquid to a reaction mixture.
![]() Some beakers and
erlenmeyers. Preferably these also are heat resistant. For some gas experiments
it may be convenient to have some transparent glass bottles, which can be
tightly capped.
Some beakers and
erlenmeyers. Preferably these also are heat resistant. For some gas experiments
it may be convenient to have some transparent glass bottles, which can be
tightly capped.

